
What is a Tub Surround: How to Choose a Tub Surround For Your Bathroom
After purchasing a new bathtub or even sprucing up an existing bath space, you may find that your bathtub doesn’t
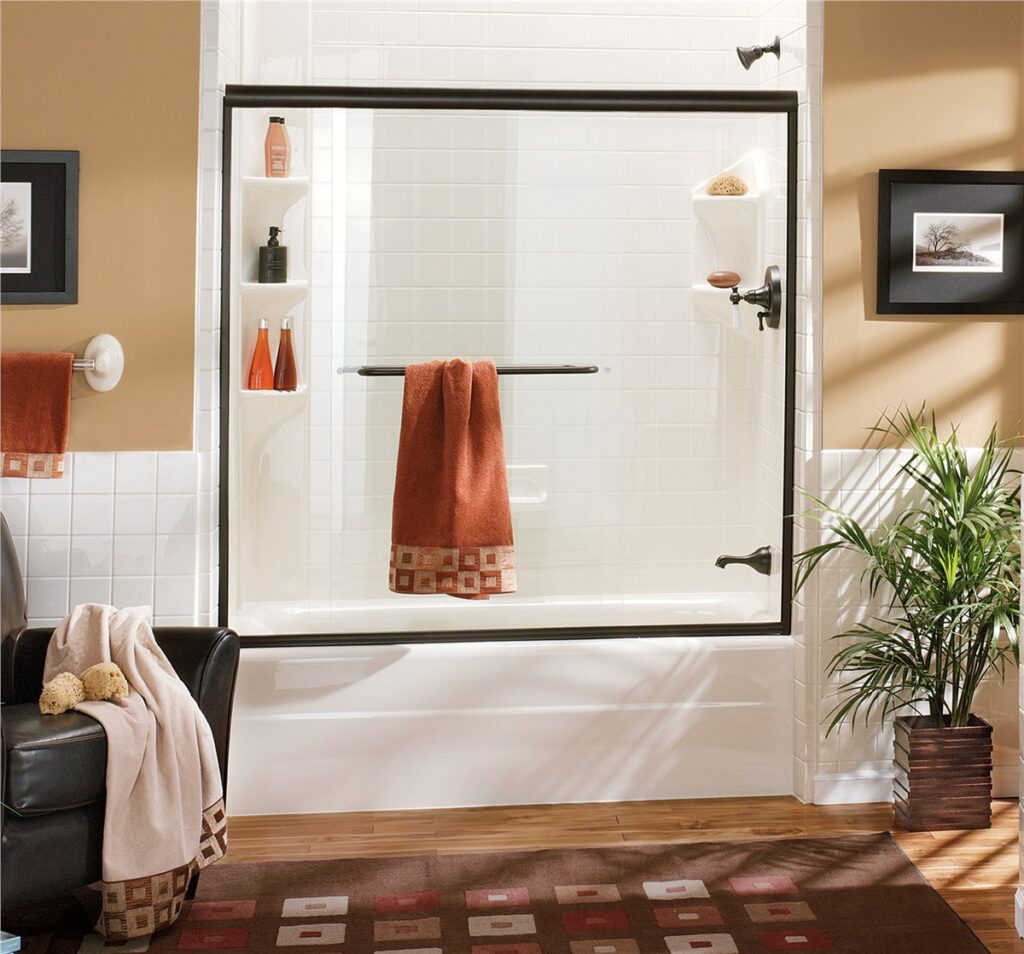
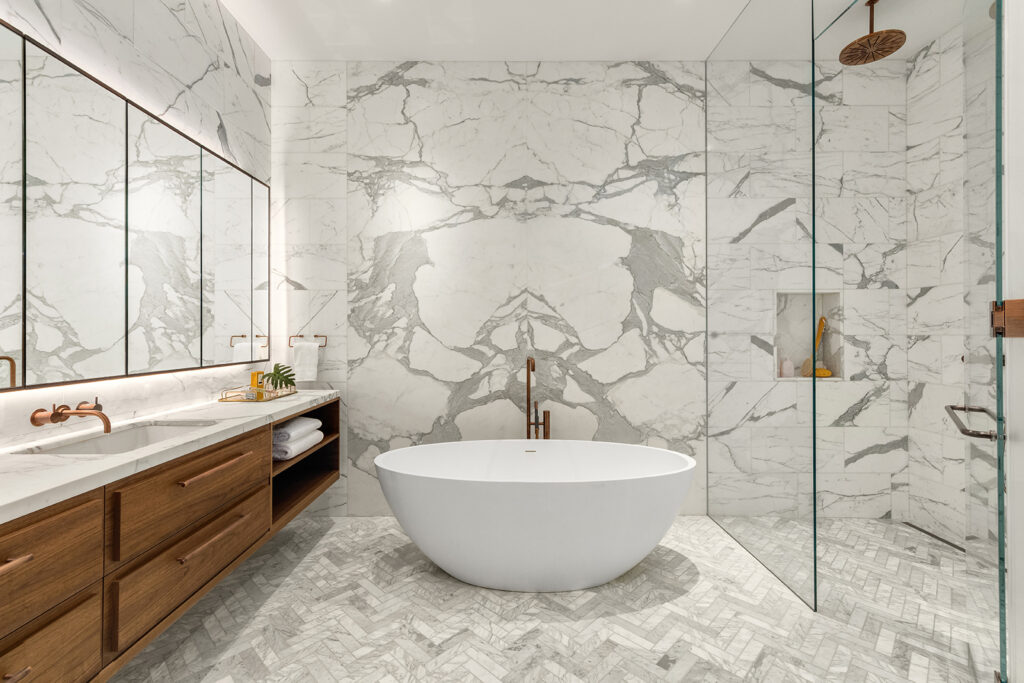
After purchasing a new bathtub or even sprucing up an existing bath space, you may find that your bathtub doesn’t quite match the aesthetics of your bathroom. Moreover, there seems to be a great deal of space between your walls and the bathtub itself. Well, fear not, as bathtub surrounds are designed to fix that very problem-creating an area that supports your bathtub, protecting your bath space from water overflow and water damages while creating a more complete look and feel.
A bathtub surround describes the area around your bathtub-specifically the tiles or walls that encompass or surround the exterior of your bathtub. The surround is important for not only aesthetic purposes-it also functions as a buffer for any excess water from continual shower or bath use and for structural integrity between the walls and your tub. In simpler terms, think of it as a vertical bathtub for your walls, as it is non-porous and will not trap water inside. If your surround is made up of simple drywall, please consider swapping it out for a new surround that is non-porous so that you do not have to deal with the possibility of structural damage down the road.
Similar to bathtub materials, surrounds are constructed from non-porous materials so that water may not carry a potential danger of creating structural damage. Common surround materials include acrylic, cultured marble, composite stone, fiberglass, and solid surface. The important factors to note when choosing the correct material for you is the price range, the flexibility of the material, and sturdiness.

When planning your bathroom upgrade, choosing the right bathtub surround is just as important as selecting the tub itself. The material you choose affects not only the look of your bathroom but also its durability, maintenance requirements, and overall cost. In 2025, homeowners can choose from a wide range of surround materials—each offering its own balance of beauty, function, and price. Below are the most popular options and what you should know about each.
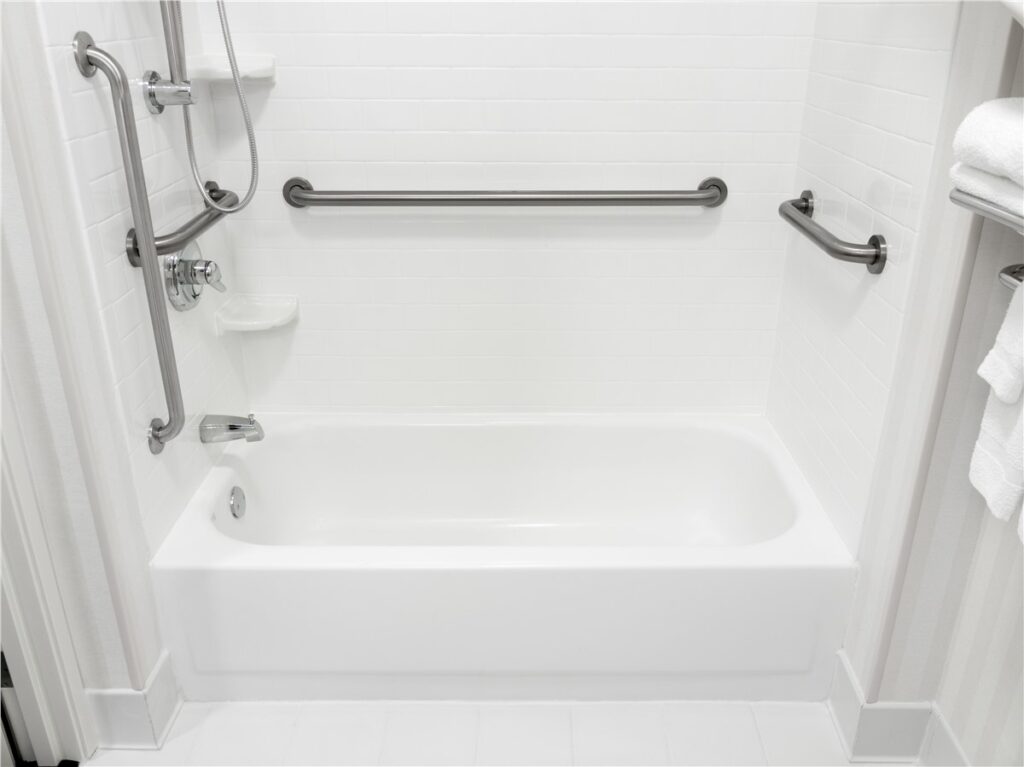
Fiberglass remains one of the most affordable and practical bathtub surround options for homeowners seeking a simple, budget-friendly solution. These surrounds are made from lightweight molded plastic reinforced with glass fibers, which makes them easy to install and ideal for DIY projects. Fiberglass surrounds resist mildew and are easy to clean with regular bathroom cleaners, requiring very little upkeep over time. However, their lower price does come with tradeoffs—fiberglass can scratch, fade, or dull after years of use, and it lacks the visual polish of more premium materials. Despite these limitations, fiberglass is a reliable choice for guest bathrooms, rental properties, or anyone who wants a quick and inexpensive refresh.
Acrylic surrounds have become one of the most popular modern choices for homeowners who want durability and a sleek, polished appearance. Made from heat-formed acrylic sheets bonded to a reinforced backing, these surrounds offer a glossy, long-lasting finish that resists yellowing and cracking. Acrylic is more resilient than fiberglass, making it better suited for high-traffic bathrooms and everyday family use. It also retains heat well, which adds comfort during baths. While slightly more expensive, acrylic surrounds strike an ideal balance between cost, aesthetics, and longevity. The only real drawback is that installation can be a bit more precise, as improper handling may lead to cracking or uneven seams. For most households, though, acrylic remains the sweet spot between affordability and modern style.
Solid surface surrounds—made from engineered materials like cultured marble or composite stone—bring a sense of sophistication to any bathroom. These surrounds are molded into large panels, creating a seamless appearance that eliminates the grout lines found in tiled walls. The non-porous surface resists stains, mold, and moisture, making maintenance effortless. Because they can be refinished if scratched, solid surface surrounds often last for decades. The main consideration is cost: these materials are heavier and typically require professional installation, which increases labor expenses. Still, many homeowners view the investment as worthwhile for the clean, high-end aesthetic and long-term durability they provide. Solid surface surrounds are especially popular in upscale remodels and master bathrooms where a spa-like look is desired.
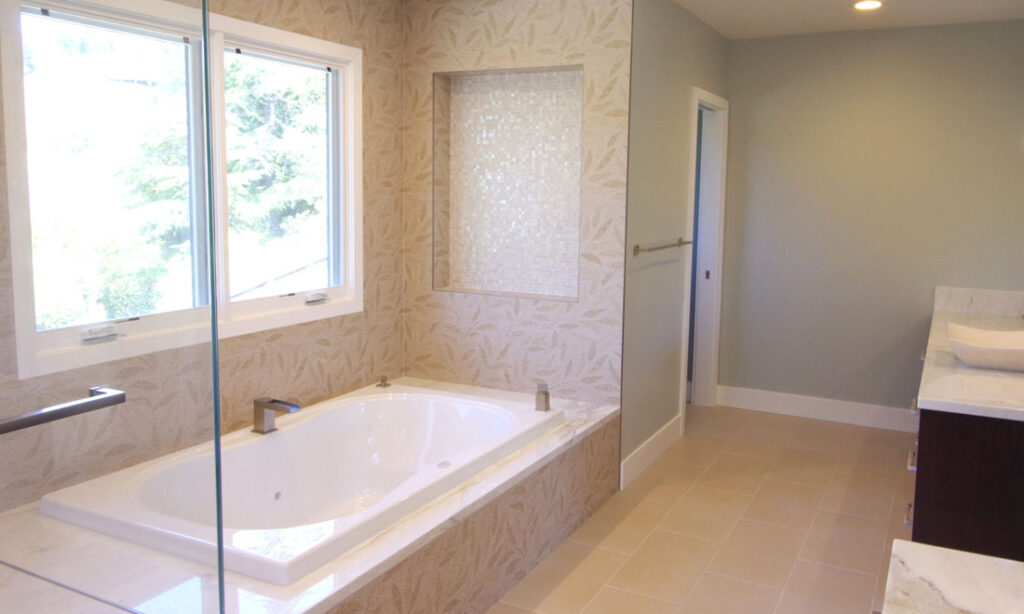
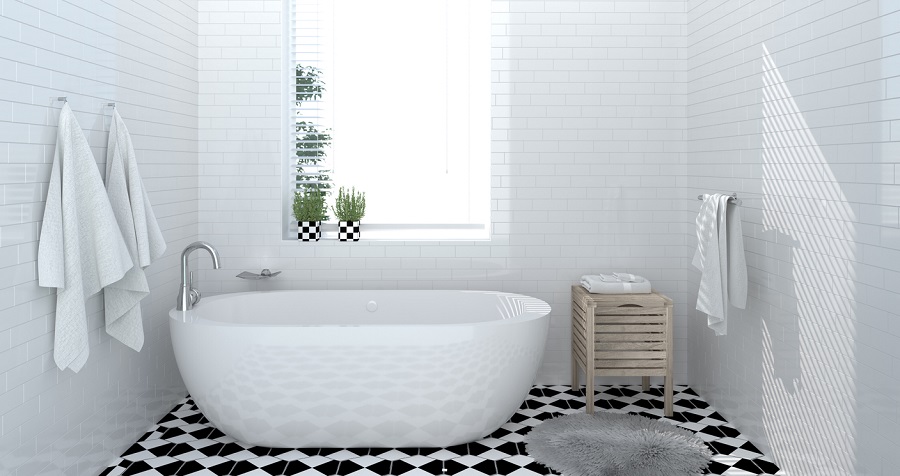
Tile surrounds are the go-to choice for those who want to fully customize their bathroom design. Whether you prefer classic white subway tile or intricate mosaics, tile allows for endless creative possibilities. Ceramic and porcelain are the most common materials, offering excellent water resistance and timeless appeal. With proper sealing and maintenance, a tiled surround can last for decades and significantly increase your home’s resale value. The tradeoff is that tile installation is labor-intensive and requires precise waterproofing. Grout lines must be cleaned and resealed periodically to prevent mold growth. While tile surrounds typically cost more in both materials and labor, they offer unmatched visual flexibility and remain one of the most luxurious and design-forward choices available in 2025.
For those seeking the pinnacle of luxury and durability, natural or engineered stone surrounds—such as marble, granite, or quartz—deliver unmatched elegance. Stone instantly elevates a bathroom, turning a simple bathtub area into a high-end focal point. It’s extremely durable, heat-resistant, and long-lasting when properly sealed. The natural veining and texture give every installation a one-of-a-kind appearance. However, this beauty comes at a premium: stone is heavy, expensive, and requires expert installation to ensure proper support and waterproofing. Occasional sealing is also necessary to prevent staining and preserve its finish. Despite the higher upfront investment, stone surrounds are an excellent choice for homeowners designing a luxury or spa-inspired bathroom that prioritizes timeless design and enduring performance.
| Material | Cost Range (Installed) | Durability | Maintenance Level | Aesthetic Appeal | Ideal For |
| Fiberglass | $900–$1,500 | Fair | Low | Basic | Budget or rental bathrooms |
| Acrylic | $1,200–$2,500 | Good | Low | Modern | Family bathrooms |
| Solid Surface | $2,000–$3,500 | Excellent | Low | High-End | Upscale remodels |
| Tile | $2,500–$5,000+ | Excellent | Medium | Customizable | Primary bathrooms |
| Stone | $4,000–$8,000+ | Exceptional | Low–Medium | Luxury | Designer or spa-style baths |
When sealing your bathtub or shower area, it’s crucial to choose a material that can stand up to moisture and temperature changes. Although caulk and sealant are often mentioned interchangeably, they each have unique properties that make them suitable for different parts of your bathroom.
Caulk is typically latex- or acrylic-based, while sealant usually refers to silicone-based compounds. Both prevent leaks and mold growth, but their flexibility, durability, and ease of use vary greatly.
To help you decide between latex caulk and silicone sealant, here’s a quick comparison of how they perform in key areas such as flexibility, durability, and water resistance.
| Feature | Caulk (Latex/Acrylic) | Sealant (Silicone-Based) |
| Primary Use | Walls, trim, and minor gaps | Bathrooms, tubs, sinks, and wet areas |
| Water Resistance | Moderate | Excellent |
| Flexibility | Low – may crack with movement | High – maintains elasticity |
| Durability | 3–5 years | 10–20 years |
| Paintable | Yes | No |
| Application Difficulty | Easy | Moderate to hard |
| Cleanup | Water | Solvent (like mineral spirits) |
| Odor Level | Low | Strong during curing |
| Best For | Dry or semi-moist areas | High-moisture, humid environments |
| Cost | Lower | Higher |
Latex or acrylic caulk is a popular choice for homeowners because it’s easy to work with and ideal for aesthetic finishing. However, it’s not as durable or water-resistant as silicone, making it best suited for low-moisture areas.
Pros:
Cons:
Silicone sealant is the go-to choice for high-moisture environments like bathrooms and kitchens. It provides a watertight, flexible bond that lasts for years, even under constant humidity and temperature changes.
Pros:
Cons:
More expensive: Costs more than acrylic caulk upfront.
Your average bath surround will measure in around 1,920 square feet. This number will generally differ depending on the size of your bathtub and the space you have available in your bathroom. Typical pre-constructed surrounds have a length of 60 inches, a height of 32 inches and a width of 32 inches-this generally can fit a small to moderate sized bathtub. This extends to higher or larger sizes which come in with a length of 60 inches, a height of 72 inches and a width of 60 inches. These numbers are for pre-constructed surrounds, but for the purposes of tiling, you need to measure the width and height of your three surrounding walls to determine how much tile is appropriate or needed for your surround. As there is no uniform size for your bathroom space, it is important to measure out how much tile is necessary keeping in mind that there will be a certain amount of ‘waste’ as tile doesn’t always fit in perfectly.
Pre-fabricated surrounds are designed to fit standard tubs and come in fixed panel sizes. Common dimensions include:
| Surround Type | Length (inches) | Height (inches) | Depth/Width (inches) | Approx. Coverage (sq ft) | Fits Tub Size |
| Small (3-piece surround) | 60 | 32 | 30 | ~40–45 sq ft | 60″ x 30″ standard tub |
| Standard (full-height surround) | 60 | 60 | 32 | ~65–70 sq ft | 60″ x 32″ tub |
| Tall (shower-tub combo surround) | 60 | 72 | 32 | ~80–90 sq ft | 60″ x 32″ tub |
| Large/Luxury surround | 60 | 72 | 36–60 | ~90–110 sq ft | Deep or oversized tubs |
| Custom tile surround (to ceiling) | 60–72 | 84–96 | 32–48 | ~100–130 sq ft | Freestanding or oversized alcove tubs |
If you’re installing a tiled surround, you’ll need to measure the height and width of each of the three surrounding walls individually:
For example, if your surround is 60″ long by 32″ deep and tiled up to 60″ high:
When purchasing tile or wall panels, plan for about 10–15% extra material to accommodate for cuts, pattern alignment, or damaged pieces. It’s better to have a few extra tiles on hand than to run short during installation.
As discussed above, this price will differ largely depending on whether you are DIY or hiring a professional to replace your bathtub and surround.
As of 2025, the cost of a tub surround typically ranges from $350 to $1,800, depending on the material, size, and whether it’s a pre-fabricated or custom installation. Prefabricated acrylic surrounds remain the most affordable option, while premium solid-surface or tile surrounds are at the higher end of the price range.
If you’re replacing both the bathtub and the surround, expect an additional $500 to $2,500+ for the tub itself, depending on the material (fiberglass, acrylic, or stone resin) and design (standard vs. deep soaking). Professional installation adds $800 to $2,000 in labor, bringing the total for a full replacement project to anywhere between $1,500 and $5,000+.
Despite the initial expense, a well-installed surround can significantly extend the life of your bathtub, protect your walls from moisture damage, and enhance your bathroom’s visual appeal. Investing in durable materials upfront also helps minimize maintenance and long-term repair costs.
| Type of Surround | Material | DIY Cost Range | Installed Cost Range | Notes |
| Basic Prefabricated Surround | Acrylic or Fiberglass | $350–$700 | $800–$1,500 | Lightweight, easy to install, limited design variety |
| Mid-Range Surround | Composite or Cultured Marble | $700–$1,200 | $1,200–$2,000 | More durable, available in multiple finishes |
| High-End Custom Surround | Tile, Stone Resin, or Solid Surface | $1,200–$1,800+ | $2,000–$3,500+ | Premium appearance, customizable design |
| Full Bathtub + Surround Replacement | Varies by material | $1,200–$2,500+ | $2,500–$5,000+ | Includes new tub, wall surround, and professional labor |
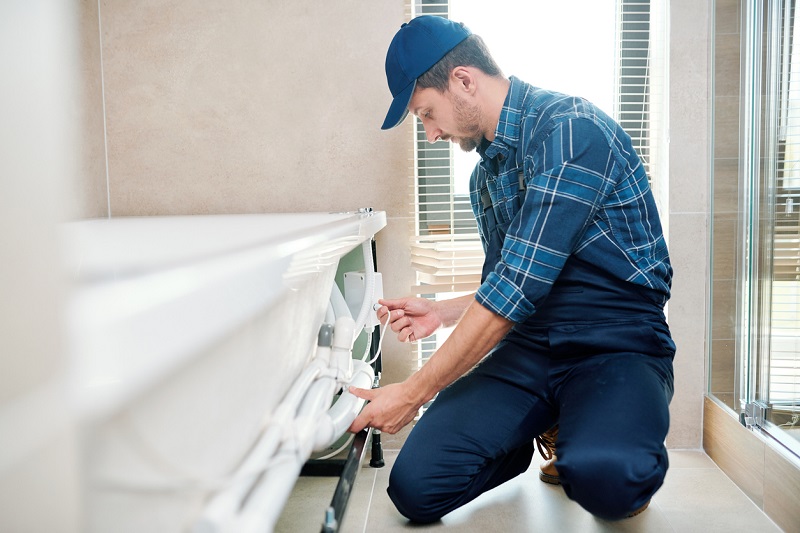
For handy homeowners, installing a prefabricated surround can be a manageable weekend project, saving hundreds in labor costs. However, custom tile or stone installations require advanced skills, waterproofing knowledge, and precise measurements—making professional installation worth the investment to avoid leaks or uneven surfaces.
Whether your goal is aesthetic improvement or long-term durability, choosing the right surround material ensures your bathtub remains both functional and beautiful for years to come.
In 2025, the cost to professionally install a tub surround typically ranges from $900 to $6,000, depending on the material, size, and complexity of the installation. More intricate designs—such as custom tile or stone surrounds—can reach $8,000–$10,000+ when factoring in premium materials, plumbing adjustments, and waterproofing labor.
When hiring a contractor, it’s important to compare multiple quotes, as rates can vary based on your region and the installer’s experience. Labor costs alone generally account for 40–60% of the total price, so finding a reputable professional who offers both quality and value is key.
| Surround Type | Material | Average Installed Cost | Notes |
| Fiberglass Surround | Fiberglass or composite | $900 – $1,500 | Most affordable option; lightweight and easy to install |
| Acrylic Surround | Acrylic panels | $1,200 – $2,500 | More durable and glossy than fiberglass; resists cracking |
| Solid Surface Surround | Cultured marble or composite stone | $2,000 – $3,500 | Offers a seamless, high-end look; moderate maintenance |
| Tile Surround | Ceramic or porcelain tile | $2,500 – $5,000+ | Customizable design; requires precise installation and sealing |
| Stone Surround | Natural or engineered stone | $4,000 – $8,000+ | Luxurious aesthetic; heavy material and high labor cost |
| Full Bathroom Remodel (Tub + Surround) | Varies | $5,000 – $10,000+ | Includes new plumbing, waterproofing, and fixture upgrades |
If you’re installing a new bathtub and surround together, consider choosing a matching system or manufacturer—this can help reduce fitting issues and labor time. For homeowners on a budget, prefabricated surrounds remain the most cost-effective solution, while custom tile or stone provides a long-term aesthetic upgrade that adds property value.
If you have chosen to DIY your surround install, you will first need these tools:
Most shower and tub surround kits afford you two different options for securing the panels-nails or glue. For installation purposes, the methods are very similar, only differing on how you wish to secure the panels themselves.
To allow the panels to bond properly, you need to make sure that the wall is clean to prevent any obstructions from mixing with the glue.
Before installing, lay your panels against your shower and make sure they fit before applying any caulk or screws.
To create a more solid base, you want to install the side panels first by lining them up with your tub. Apply caulk on the panel in a zigzag pattern, then apply a bead on the wall, spreading it evenly with a trowel. Press firmly, releasing only after a good 1-2 minutes then applying a line of adhesive at the base before the bathtub.
As the above step, lay a bead of caulk, making sure that the caulk stays within the panel boundaries before pressing firmly, releasing only after a minute then applying adhesive at the base.
Install the remaining panels in the same way, then allow adhesive to dry for at least 24 hours.
The immediate difference between using a kit and a hired professional is the price difference. Shower kits will run anywhere between $300-1000 depending on the material used. A professional starts between $700-1000 depending on negotiated rates, not including the cost of materials. However, you do retain the benefits of their experience and knowledge especially if you have no experience installing a tub kit surround by yourself. They also can help with any size issues or material difficulties that may occur such as something not fitting properly or if you want custom work done to the surround that you are unsure of how to approach. Many factory surrounds are typically bare, so additional shelves may be desired inside of the shower or tub walls which the professional can assist with.
Pre-bought kits come with panels of your desired material that need to be glued or fastened against your drywall.
Before buying a surround kit, make sure you check whether it is designed for a specific tub or base or you will be able to use it on any tub type. Checking it first will not only save you money but time as well.
It is not a common thing that a tub surround goes over existing tile, but it’s possible. To be able to do, your old tile area needs to be smaller than the kit you’ve bought and the surrounding wall needs to be to the level of your tiles.

Eric is the founder and president of Badeloft USA. He has been the president of Badeloft’s US division for over ten years and oversees all marketing and branding aspects of Badeloftusa.com.
His expertise lies in small business development, sales, and home and bathroom industry trends and information.
Contact us with any business related inquiries.
Free material samples and tub templates
After purchasing a new bathtub or even sprucing up an existing bath space, you may find that your bathtub doesn’t
The successful removal of a bathtub is an exercise in logistical planning and risk management, not merely a test of

Picking out the right bathtub can be quite the daunting choice. Like choosing your first car, there are quite a
In 2025, homeowners can expect to spend between $1,500 and $8,000 on bathtub replacement, depending on the project’s scope. For
"*" indicates required fields
"*" indicates required fields
Request your free material sample below. By submitting, you agree to receive occasional product updates and offers from Badeloft. Unsubscribe anytime.
"*" indicates required fields
I’m sorry…WHAT? “Your average bath surround will measure in around 1920 square feet.”
Yep. Hilarious right?
K, do you know how to come up with the sq. footage? 60″ x 32″ =1,920″ = 1920 sq.ft.!
You need to convert inches to feet (ie 60 inches = 5ft) before you calculate square feet.
Are u washing the neighborhood?
Its sq inches not sq ft! Pay attention
Ummm maybe edit the article. I don’t think 1,920 sqft is quite accurate.
Dang. How big is the house, cuz that tub surround be the size of a house? LOL.