Heated Toilet Seats: What to Know Before You Buy
Spring is when most bathroom remodels get serious. The weather breaks, contractors open up, and that upgrade you have been
Ever thought about brightening up your bathroom sink? Well, with the right tools and proper precautions, you can easily tackle this project in the comfort of your own home.
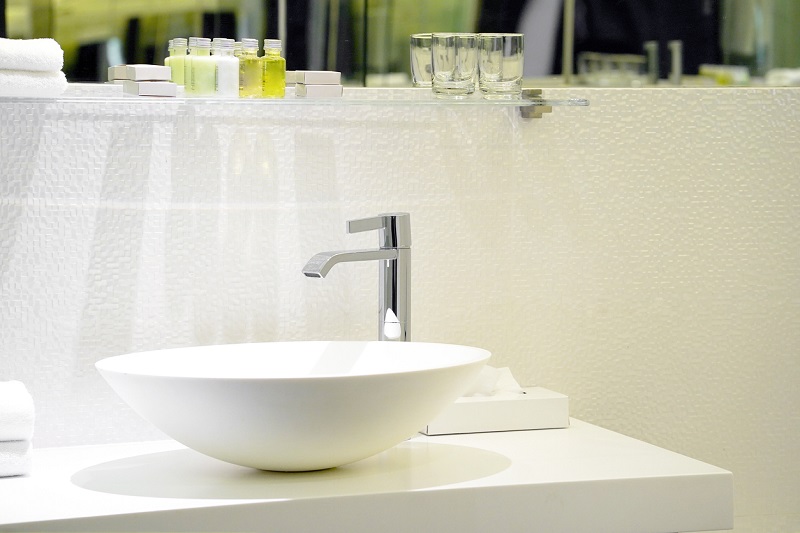
Today we will walk you through how to paint your bathroom sink.
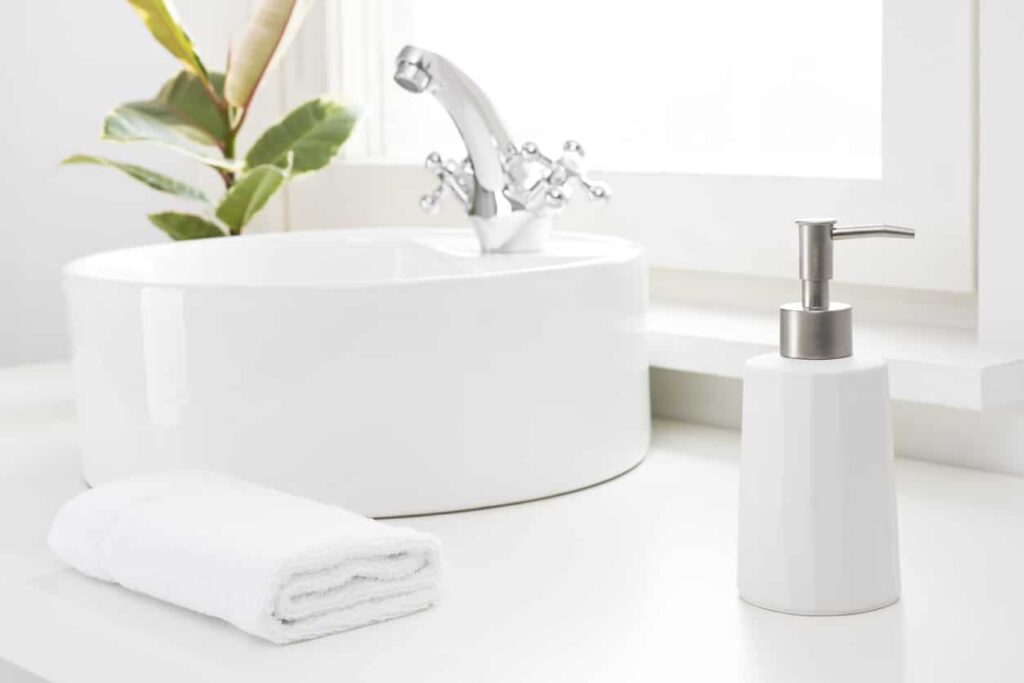
If you’re reading this article, you have probably decided to paint your bathroom sink. That is why we’ve created a list of all the things a homeowner needs to give their sink a new look.
Gloves are a necessary aspect of any painting or home-improvement project. Disposable nitrile gloves are more than suitable for painting as the paint will likely splash and dirty the gloves, but if you want, you can use a dedicated pair of worker gloves as well so long as your skin is protected.
A screwdriver will be a necessity to remove and install separate fixtures so you can paint them much easier.
A basin wrench is a handy tool that allows you to remove fasteners with your sink, giving you greater control of what aspects of the sink you can remove and re-install.
Epoxy is a bonding agent that helps certain paints adhere better to different sink materials and protects the material underneath. If you aren’t using an epoxy, a primer is another valid choice.
Painter tape or masking tape is a pressure-sensitive tape that allows you to create borders, giving you a clear way to mark where you want to paint before a project.
Paint is known to leech off fumes which can be toxic if inhaled, so a ventilation mask is necessary for any painting project. The more expensive variants have multiple air filters to protect you during a project.
A fine paintbrush allows you to apply a layer of paint in a more precise area, reducing the chance of applying paint to an undesired area.
Paint is available in many different variants and four primary finishes. Each has its own advantages and disadvantages, so it is up to you to choose a paint that fits your preference.
There are many different types of paint you can opt for when painting your bathroom sink. Here are the most common ones:
Despite the large number of necessary materials you have collected, painting your bathroom sink is a very straightforward and simple project. Simply follow the steps below and you can easily DIY this project.

Before painting, your area must be prepped and thoroughly cleaned. This is to prevent any accidents that may occur during this process, so you want to give yourself as much room as possible before starting.
Using your screwdriver and basin wrench, loosen the bolts on your faucet, and remove it from your sink. Repeat the same process for your drain cover. Make sure the water is turned off before this step.
Clean the area around your sink by sanding. Sanding creates a smooth surface, allowing the paint to adhere to the surface easier and dry. It is best to wait around 90 minutes to allow the surface to dry, but you can use a clean tack cloth to dry it before painting to remove any further dust.
Prepping the area with tape allows you to mark and provide boundaries before painting. This can easily allow you to plan out different colors or give yourself visual clues on where you want to start and begin your painting area.
Before painting, ensure that your bathroom is properly ventilated, as paint fumes are hazardous when inhaled. Open windows, keep the door open, and always use a ventilator mask before painting.
Now, with your area properly prepped, you are ready to apply paint. Using your brush, apply your paint in the desired areas. You will need to wait anywhere between 1-2 hours depending on the paint you are using.
Please note that flat, matte, eggshell, and semi-gloss will require 2 hours. Glossy paint will require 2 and a half hours, and primer will require an hour before reapplying a coat.
After two hours of applying the first coat, apply the second coat. This usually will be your last coat before finishing your sink, but every sink and paint situation will be different, so you might require another coat.
If your second coat is lacking after allowing it to dry, consider a third coat of paint to achieve the look you desire.
Depending on the material of your sink, you will use either an epoxy to finish your sink or a primer beforehand. This is meant to finish your sink, protecting both the paint and the sink with a better look and making it more water and weather-resistant. Whether you are using an epoxy or primer, allow it to cure usually around 72 hours.
Finally, you should remove your painter tape, giving you a better idea of what your finished product looks like and giving you a chance to touch upon any areas before waiting for the drying process.
Clean up and allow your epoxy or primer to finish curing, usually within 72 hours.
If you are planning on painting your sink, here are some additional tips and considerations before undertaking this project.
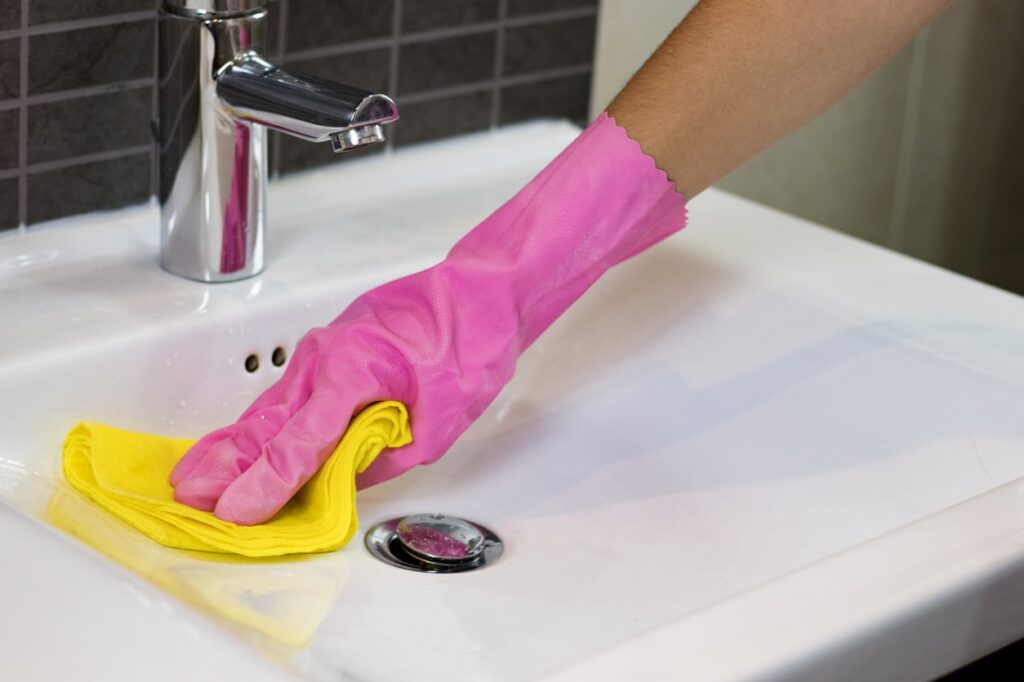
When it comes to taking care of your painted bathroom sink, make sure you stay away from abrasive cleaners. Instead, use a regular spray cleaner you probably already have in your home and a clean cloth. You don’t have to rub it too strongly as you’ll notice that any spot or dirt will easily go away as you go over it with the cloth. Another great news is that painted bathroom sinks will rarely get scratched or peeled so you’ll be able to enjoy your sink for many years to come!
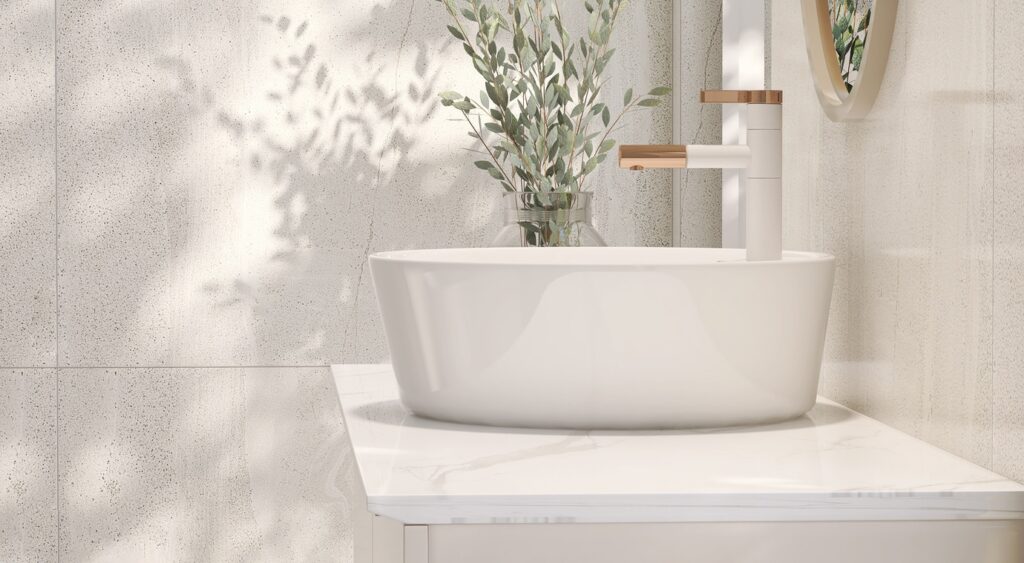
While it may seem overwhelming at first, painting your sink is an easy and straightforward project. Its simplicity provides a great deal of freedom in choosing colors and style, allowing you to transform your sink into exactly what you want. So try painting your sink today for a very rewarding experience.

Eric is the founder and president of Badeloft USA. He has been the president of Badeloft’s US division for over ten years and oversees all marketing and branding aspects of Badeloftusa.com.
His expertise lies in small business development, sales, and home and bathroom industry trends and information.
Contact us with any business related inquiries.
Badeloft is dedicated to helping homeowners make informed decisions about their bathrooms. We adhere to strict editorial guidelines to ensure our content is accurate, trustworthy, and useful.
Request free stone resin and stainless steel material samples. Delivered to your door.
Spring is when most bathroom remodels get serious. The weather breaks, contractors open up, and that upgrade you have been
A Japanese soaking tub, known traditionally as an ofuro, is designed for one purpose: full-body immersion. Unlike Western bathtubs built
Spring is peak bathroom renovation season – and with remodel costs up 15–20% this year, the pressure to get it
It’s spring, tax refunds are landing, and if you’ve been putting off a bathroom upgrade, you’re in good company. A
Request your free material sample below. By submitting, you agree to receive occasional product updates and offers from Badeloft. Unsubscribe anytime.
"*" indicates required fields