
One-Piece vs Two Piece Toilet – Pros and Cons- 2025 Expert Guide
When upgrading your bathroom, one of the most important—and often overlooked—decisions is choosing between a one-piece or two-piece toilet. While
Wall mounted sinks lack the cabinetry of traditional vanity sinks, making installation a bit more challenging in that there’s little room for error and you can’t hide your mistakes. Because of the delicate nature of wall mounted sinks, make sure to enlist the help of a friend.
You’ll also need to gather the following before you begin:
You’ll need to measure and mark the plumbing carefully as there’s little room for error. Your hot and cold water supply lines will be exposed while the waste pipe and trap will be hidden within an opening on the back of the pedestal of the freestanding sink.
The basin sits on top of the brackets flush against the wall. The sink’s mounting bracket will need to be installed securely in the wall to support the basin. This typically requires cutting into the drywall.
Measure the wall from the floor to the sink’s mounting brackets and mark the wall. Use a stud finder to find the studs. If they studs are not ideally located, cut out a section of drywall and then install a piece of 2″ x 8″ lumber between the studs (cutting it to size). Repair the wall with a piece of new drywall cut to size and patch and finish the wall using a clean piece of drywall, drywall tape, putty, and paint.
Install the mounting hardware into your newly installed wall brace, making sure to double check the height and alignment of the freestanding sink.
After turning off the main water supply, open a faucet in another room to relieve pressure. Place a bucket near the copper supply lines and use a tubing cutter to cut the hot and cold water supply lines about 2 inches from the wall.
Measure from the back of the sink’s mounting bracket to the center of the drain. You’ll need to line up the drain line in the wall with the chrome P-trap, making sure the P-trap’s vertical coupling is centered precisely at the same distance from the wall as the drain. Use the hacksaw to cut the PVC drain line at the point where the PVC shoulder and elbow meet.
Place the wall flange, a compression coupler, the metal cap of a chrome compression shutoff valve, and the end of the valve into position on one of the water shutoff valves. Adjust the metal cap so it meets the nipple. Use a wrench to tighten it. Push the wall flange into position and then do the same process with the other shutoff valve. At this point, you can turn the water to the house back on and make sure there are no water leaks.
Depending on the sink’s design, you might need to install the drain kit into the sink basin before mounting the basin. Use plumber’s putty around the drain flange, firmly pressing it into position through the drain hole and securing the kit in position with the washers and coupler nut.
Install the faucet into the sink basin before mounting the basin. You’ll initially hand-tighten the mounting nuts, allowing you to adjust the faucet’s position before tightening it into place with a pair of slip-joint pliers. Later, you’ll attach the water supply tubes.
Now that the drain kit and faucet are in place, it’s time to finish the plumbing and mount the basin onto the wall. The drain tailpiece will need to be attached to the drain nipple through the base. Your approach here may depend on the design of the small wall mounted sink. This is a good time to have a helper on hand to ensure that the sink doesn’t topple as you make these connections. Use your slip-joint pliers to tighten the joint.
Install the remaining portion of the P-trap to the drain’s tailpiece at the appropriate height. Start by test-fitting the elbow assembly and P-Trap Make sure to measure (and mark your measurements) from the bottom of the existing P-trap to ensure a proper fit once you slide the pedestal into place. Add plumber’s tape to the P-trap’s threads and make your connections. Tighten the nuts by hand, following with pliers.
Next, position the drain rod through the hole and connect it to the extension with the slip spring or screw provided with your kit. Use the lift rod to lift the sink’s stopper, adjusting as needed.
The basics are now in place. You’ll need to carefully position the basin against the wall, securing the basin’s mounting bracket to the wall mount. Once secured to the wall, connect the P-trap halves and tighten with your pliers.
Slide the sink into place against the wall. Lift the sink slightly to secure the mounting bracket on the back of the sink to the wall mount. Connect the two halves of the P-trap and tighten the coupler with the slip-joint pliers. Use silicone caulk around the joints where the sink meets the wall.
Prepare the water inlet valve nipples by wrapping thread seal tape around them. Cut two chrome water supply tubes (one for hot water, one for cold) that are one inch longer than the distance from the water supply valves to the corresponding water inlet.
Place a coupler and ferrule to each end of each tube. Start by connecting one end to one of the water supply valves using an adjustable wrench. Carefully align the tube to the faucet inlet, bending it as needed, and connect it to the nipple of the faucet. Do the same for the other water supply line.
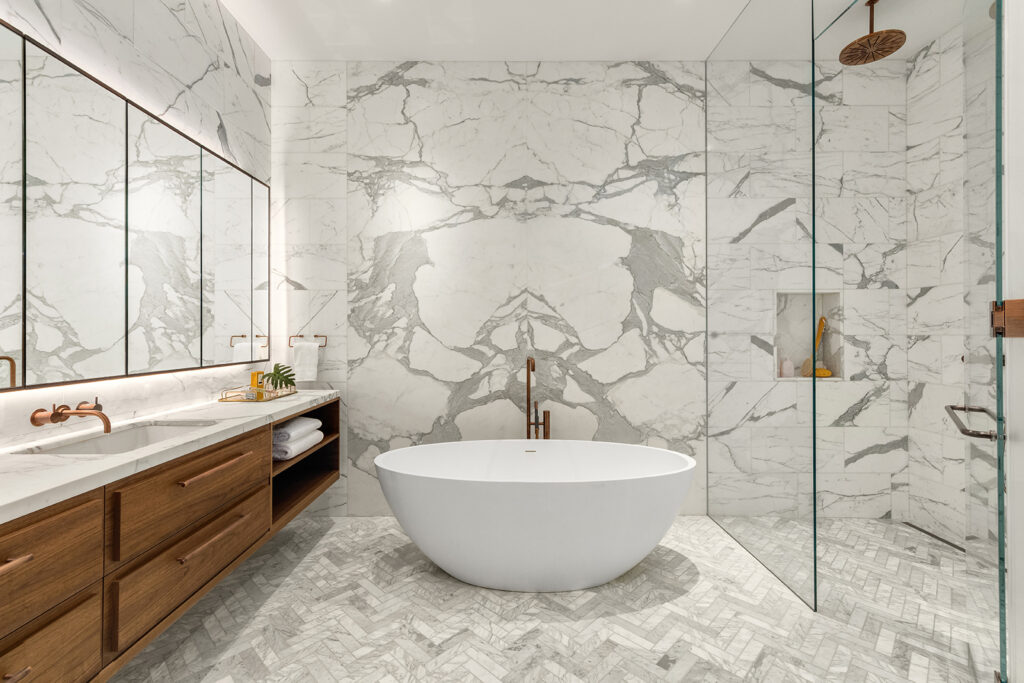
At this point, you may turn on the water supply inlets, one at a time, to test your faucets and drains. Remove the aerator and filter of the faucet as debris can be expected. Let the water run for about a minute on each water supply line. Turn off the faucet, replace the aerator and filter, and check for any leaks. Adjust as needed. View our guide on how to install a freestanding tub.
Sources:

Eric is the founder and president of Badeloft USA. He has been the president of Badeloft’s US division for over ten years and oversees all marketing and branding aspects of Badeloftusa.com.
His expertise lies in small business development, sales, and home and bathroom industry trends and information.
Contact us with any business related inquiries.
Free material samples and tub templates
When upgrading your bathroom, one of the most important—and often overlooked—decisions is choosing between a one-piece or two-piece toilet. While

Small details, including what you place on the floor, can make a big difference when setting up or upgrading your

Plumbing traps may seem like small components, but they are critical in keeping your home safe and odor-free. Two of
When shopping for new bath linens, the difference between a bath towel and a bath sheet can feel subtle, but


Fill out the form below to request a free material sample
"*" indicates required fields
"*" indicates required fields
"*" indicates required fields