
Heated Toilet Seats: What to Know Before You Buy
Spring is when most bathroom remodels get serious. The weather breaks, contractors open up, and that upgrade you have been
Looking to replace your old bathtub with a cleaner new model but don’t know how to get rid of the old tub? Well, you are in luck, because the process is surprisingly simple. Simple, not easy, however. So, first and foremost, be sure to ask for assistance-whether it be professional or just another person to help you with the heavy labor, because you will surely need it and your safety comes first, especially with a project that includes something as heavy as a bathtub.
Homeowners can have different reasons to remove a bathtub, from noticing water leaks to trying to give a new look to their entire bathroom. Instead of trying to fix your existing bathtub, it’s often much more cost efficient to replace it with a new one.
When it comes to common reasons for removing a bathtub and replacing it with a new ones, homeowners often mention the following:

To properly remove your old bathtub, the first step is to make sure your area is safe and prepped. This means keeping your workspace unobstructed by people and other objects—this may mean removing vanities such as sinks or toilets out of the way, depending on the size of your bathtub. For reference, consider the dimensions of common bathtubs to better plan your space. In any DIY job, safety comes before any other step, so please, make sure your area is clear and that you have enough room to maneuver both your body and your bathtub as well. Remember that installing a new bathtub will be highly labor intensive, so best not to take any chances when it comes to small inconveniences that may result in highly preventable accidents down the road. In short, move your toilet or sink out of the way, regardless of the small hassle.

Depending on your skill and knowledge level, anywhere from 3-4 hours to half a day, depending on the setup and layout of your bathroom.
First and foremost, you should not undertake any part of this process without protective eye, ear and face wear. Gloves are required unless you are a seasoned professional. Beyond protective wear, you will need:
An interesting question as some of these steps can be completed without professional help. But if this is your first removal/installation, consulting a professional is advised.
The cost of removing an old tub will largely depend on many different factors such as the bathtub material or cost of the old tub or whether you hire professional help, but your price tag will start around $300+ starting at a minimum.
Many homeowners often feel like a bathtub removal and replacement is a complicated process. If you add to that the fact that the work is being done near electricity and water pipes, it’s obvious you will need to prepare well. However, following these instructions below will help you replace your bathtub successfully without any help!
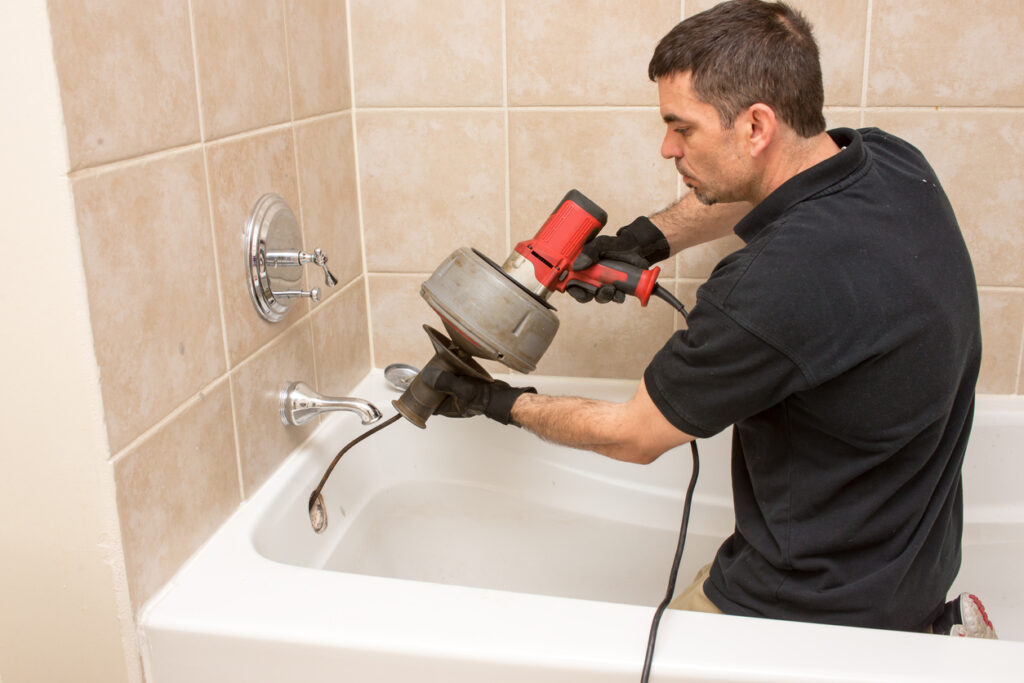
As stated before, please properly prep your area before starting. First, shut off your water and power, then remove any extra obstructions from the area, such as the toilet or vanities if you do not have enough room. For this step, you will need several screwdrivers, a small saw or keyhole saw. This step will usually take around 3-4 hours, depending on the size of your bathroom, so be prepared. If your bathroom is particularly complex, you may need to hire a professional for this step if you are unsure of how to remove your toilet and sink without any complications.
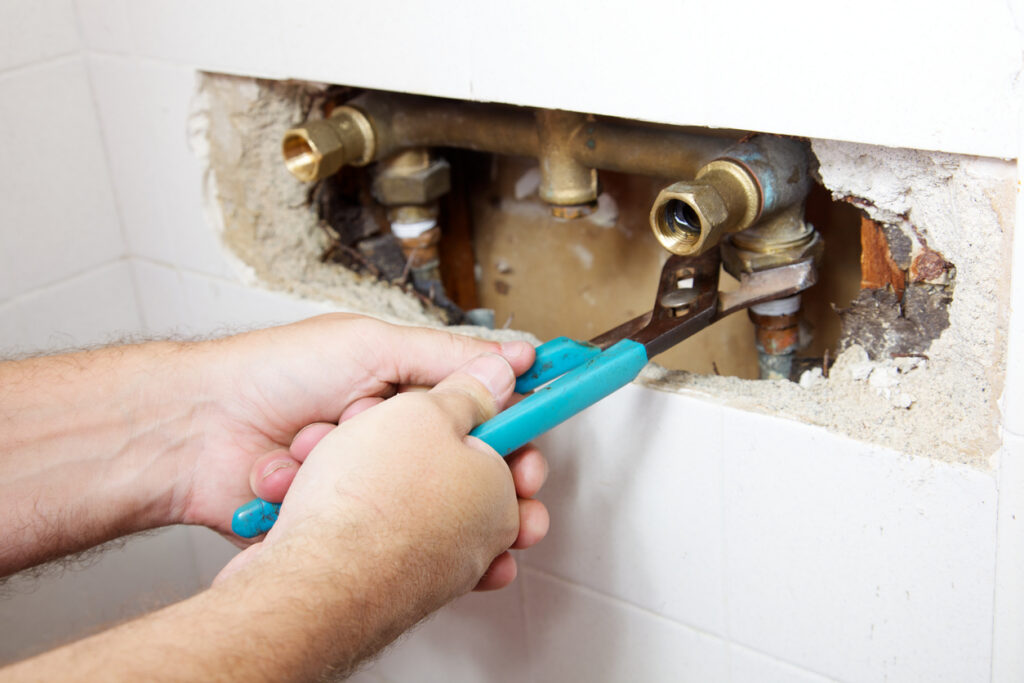
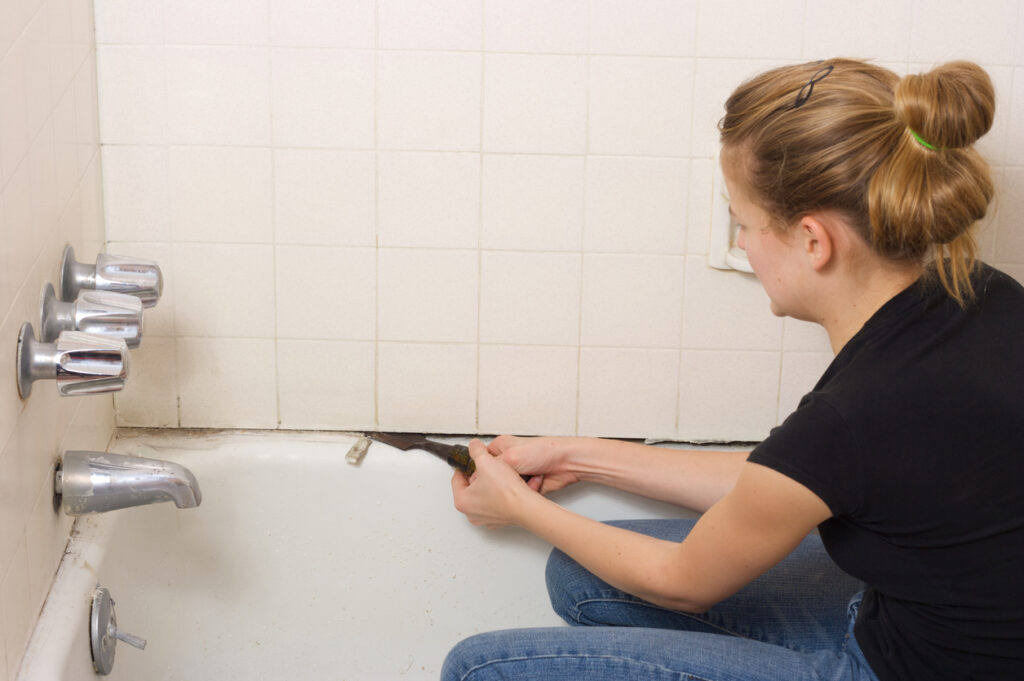
With your piping and drains sorted out, you now need to remove your old tub from the wall.
Before continuing, it is highly advised that you have assistance on this next step, as it can be quite dangerous on your own.
Now, how will you dispose of your old tub? Well, that question will largely depend on what type it is. Cast iron can be broken up into smaller pieces with a sledgehammer while other materials such as porcelain, fiberglass and acrylic can be removed whole with some assistance. Please contact your local sanitation department for the best method of disposing of your old bathtub. If you have questions regarding the disposal method, you can simply contact your sanitation department for further information.
With a free space available, you are now ready to pick your new bathtub. Measure the width and depth of your available space to determine what kind of tub you need. Though, if you don’t want to relocate or re-orient your plumbing, you can simply follow what direction your drain opening is. Facing your space, if the drain opening is on the left, you need a left drain tub, if it appears on the right instead, then a right drain tub. This of course is not set in stone, though some plumbing work will be required if you simply just want a different bathtub, regardless of orientation and of course, before installing, make sure that your floor is level, and if not, use a leveling compound to even it out.
Although this step mostly pertains to porcelain and fiberglass, it is good practice to protect your bathtub from fractures and drop impacts regardless if they can weather it or not. So, before installing, keep your new bathtub packaged, and when removed, cushion it with cardboard to prevent any of the exposed surface to be damaged before installing.
Now, with assistance, using the same method as before, you will set your new tub onto the 2x4s that you used to remove your old tub and slide it into place. Once placed, check the levels and if necessary, use spacers to even it out-you want to have no gaps between your bathtub and the wall if possible once it is fully installed. Now, take a pencil and mark the reference line of all the studs all the way around your bathtub. Once done, remove your tub and put it aside.
With your studs and rivets marked, you will need to take the height of your bathtub and measure that same distance below the reference line on each stud. This will serve as the mark for the top edge of the new stringers you will need to install. Cut some 2x4s the length of your new tub and use deck screws to fasten them to the studs on the new reference marks you made.
Now, we are ready to install your new bathtub! So, to start, we need to turn the tub on it’s side and install it according to the manufacturer’s specs. Afterwards, you should take a bit of plumber putty or any loose based polymer and wrap it around the underside of your new drain flange. Position the drain shoe on the underside of the tub and screw the drain flange into the new threads. Secure it completely with the drain tool you used to remove it any then scrap off any excess putty. Now, to connect the overflow valve or drain, you need to place a rubber gasket onto the overflow elbow pipe and position it behind the bathtub, then attach the cover plate inside. Afterwards, connect the overflow pipe and the drain pipe, resulting in an intersecting ‘T’ formation. Install the drain strainer onto the flange to wrap it up. For more detailed instructions, refer to our bathtub overflow drain guide.
With your plumbing sorted, carefully move the bathtub back into place. If done correctly, the drain flange should rest on the stringer that was installed along the back wall. Also, the drain and overflow plumbing from your bathtub should be aligned with the rough-in drain outlet in your bathroom, or more specifically the drain along the floor. At this step, be sure to connect all the pipes together and tighten snugly. Reattach your spout and shower peripherals and test out your bathtub.
Now, hopefully with the previous step, everything is running fine without any further incident. Double check your plumbing before securing the studs with roofing nails, securing your bathtub entirely. Word of caution, please do not drill the flange, and instead use the head of the fastener instead to hold it down otherwise you risk damaging the exterior. Reinstall your baseboard, and apply moulding in front and along the tub. Finally, reapply your drywall and apply waterproof paint to restore the walls you took out initially for installation. and your screws and nails before lining your bathtub with more chalking
One of the most expensive items on your cost list for removing and replacing your bathtub will obviously be the bathtub itself. There are many different models on the market, so their price will vary as well. Do a proper research before making your decision as bathtubs should last years in your household.
If you’re still indecisive, here is a price overview of the common bathtub types:
The most common mistakes made when installing a new tub come from inexperience. With limited knowledge, there is alot that can go wrong, from damaging the bathtub, incorrectly installing plumbing aspects or at their worst, injuring yourself and others. Of course, if you can DIY this project, it can be rewarding, as well as an immense time saver, but if you are inexperienced, we recommend you take this project in steps. You can always DIY some of the less complicated aspects, while some of the more advanced parts of the project we recommend hiring a professional to assist both for your time and safety concerns.
When removing your old bathtub, please take all the proper precautions and remember that safety comes first, no matter what hassle, so do yourself a favor and research what you can easily do and what you may need a professional for.
If after reading these instructions you still have questions or doubts on how to remove and replace your bathtub, reach out to Badeloft. As bathroom experts, we love sharing our knowledge with homeowners like you!

Eric is the founder and president of Badeloft USA. He has been the president of Badeloft’s US division for over ten years and oversees all marketing and branding aspects of Badeloftusa.com.
His expertise lies in small business development, sales, and home and bathroom industry trends and information.
Contact us with any business related inquiries.
Badeloft is dedicated to helping homeowners make informed decisions about their bathrooms. We adhere to strict editorial guidelines to ensure our content is accurate, trustworthy, and useful.
Request free stone resin and stainless steel material samples. Delivered to your door.
Spring is when most bathroom remodels get serious. The weather breaks, contractors open up, and that upgrade you have been
A Japanese soaking tub, known traditionally as an ofuro, is designed for one purpose: full-body immersion. Unlike Western bathtubs built
Spring is peak bathroom renovation season – and with remodel costs up 15–20% this year, the pressure to get it

It’s spring, tax refunds are landing, and if you’ve been putting off a bathroom upgrade, you’re in good company. A
Request your free material sample below. By submitting, you agree to receive occasional product updates and offers from Badeloft. Unsubscribe anytime.
"*" indicates required fields