Choosing a Bathtub for Two: Sizes, Features, Installation & Other Considerations Before You Purchase
There’s a gap between what a freestanding bathtub listing tells you and what it actually feels like to share one.
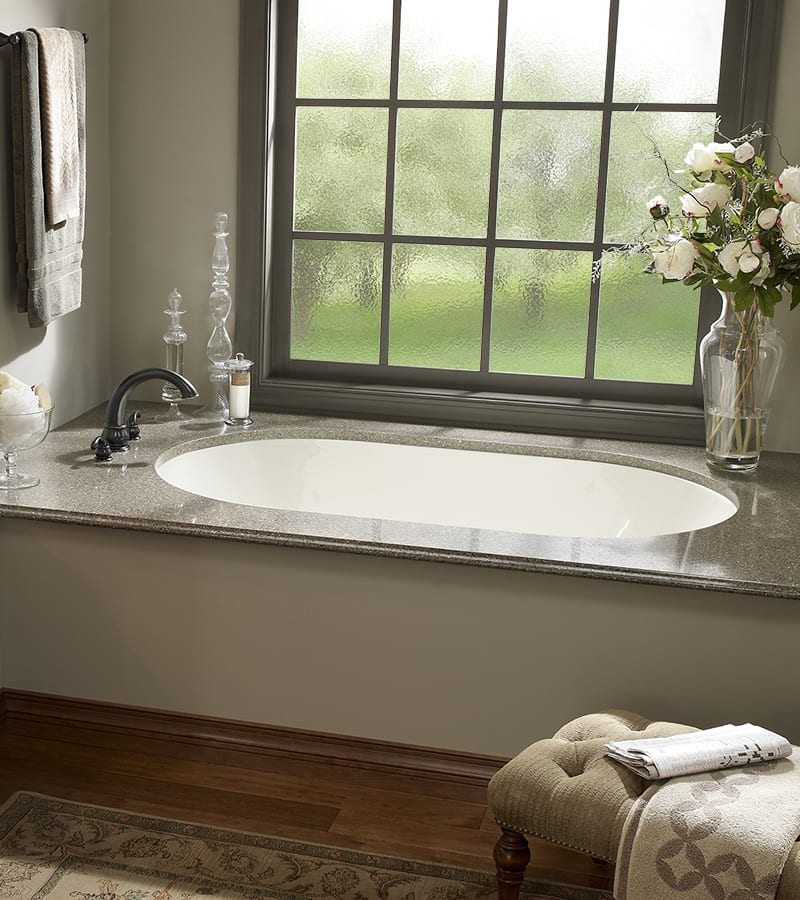
Most buyers encounter undermount tubs late in the design process , when they’re deep into a platform bathroom concept, or they see a tiled deck with a hidden rim and immediately want one. The look makes sense: clean lines, no visible rim transition, a tub that sits inside the bathroom architecture rather than on top of it.
What most buyers don’t know until mid-project is that the tub itself is the smallest part of the cost. An undermount tub installation involves a deck structure, a surround material, a waterproofing system, a support frame, and labor across multiple trades. Understanding what you’re committing to before you finalize the design is key to avoiding the most common undermount renovation regret: not the tub, but everything around it.
An undermount bathtub mounts beneath a surrounding deck or platform, with the tub’s rim hidden below the deck surface. The basin is fully visible; the mechanical rim and edges are not. This is the defining aesthetic difference from a drop-in tub, which sits above the deck with a visible lip.
The structural difference matters too. The weight of an undermount tub is distributed between the floor structure and the deck frame. The deck must be substantial enough to support the rim attachment, the surround material, and any weight or use load on the deck surface itself.
These three installation types are often presented as equivalent alternatives. They have meaningfully different requirements, costs, and design implications.
Undermount hides all mechanical edges beneath the deck. Requires a built deck platform and precise installation. Once tiled, the installation is effectively permanent. The aesthetic is sleek and integrated.
Drop-in sits above the deck surface with a visible flanged rim. The deck can be simpler because it doesn’t need to support the rim-attachment load. Easier to replace if the tub needs to be swapped out later. The visible lip is the visual trade-off.
Freestanding requires no deck, no frame, no surround. The tub stands independently. Significantly simpler installation, lower total project cost in most scenarios, and repositionable within plumbing constraints. Requires a floor that can support the weight of stone resin and cast iron models.
The choice between undermount and freestanding often comes down to bathroom design intent. A platform bathroom with a built-in deck and tilework is a cohesive design choice that suits traditional, transitional, and some contemporary bathrooms. A freestanding tub as the room’s centerpiece is a different statement. One is architectural; the other is sculptural. Neither is superior; they are different things.
Undermount bathtubs offer an elegant, smooth aesthetic, which looks really well in all kinds of bathrooms. Also, undermount tubs provide design flexibility with numerous shapes and upgrades, which can be interesting for those homeowners who would like to customize their bathtubs to fit their needs and preferences. Not to mention that this also makes it a great choice compared to other bathtub types as you’ll be able to find a model for any amount of space you might have. Lastly, one of the great benefits is that undermount tubs allow for deep, relaxing soaks.
When it comes to cons of undermount tubs, keep in mind that they can be difficult to get in and get out, so if accessibility is important for you, this type of tub might not be the right choice. Also, if your undermount tub is made from marble or granite, it will probably require more floor support.
Undermount bathtubs come in a variety of styles to suit almost any style of home. Whether you have a large bathroom or a more modest offering, there is enough variety in terms of style to cater to almost any bathroom. The three most prevalent styles are Standard, oval and corner.
Standard undermount is a rectangular or slightly tapered basin installed with all four sides set beneath the deck perimeter. The most common configuration for alcove and three-wall platform setups. Works in bathrooms where the tub is set against one or two walls.
Oval undermount has a rounded basin that extends into the open floor of the platform deck, providing a wider soaking area and softer visual presence. Often used in standalone platform installations in larger primary bathrooms. Compatible with whirlpool and air jet systems.
Corner undermount use a triangular or angled footprint to make efficient use of corner space. Suited to bathrooms where a corner platform is the most practical layout. The effective soaking area is larger than the corner footprint suggests.
Undermount bathtubs come in a wide variety of materials ranging from lightweight materials such as acrylic to heavier set options such as cast iron. The quality of your bathtub will ultimately depend on the materials used, but keep in mind that some material will be heavier than others, making them much more difficult to accommodate, especially in smaller bathrooms. With undermount bathtubs in particular, bear in mind that the rim or surrounding tile will be more visible than the bathtub itself, so many homeowners choose a cheaper material for the bathtub while spending more money for a more aesthetically pleasing surround instead.
Fiberglass is the budget option: lightweight and inexpensive, but the least durable of the three. Fiberglass tubs are prone to flexing, cracking, and surface degradation over time. For a permanent installation behind a tiled deck — one that cannot be accessed without demolition — the case for spending more on acrylic is strong. A fiberglass tub that needs to be replaced in 10 years requires tearing out the deck to reach it.
Cast iron provides superior heat retention and exceptional durability. The weight (300–400 lbs for a standard undermount size) requires that the deck frame and subfloor be engineered to support the load. A filled cast-iron undermount tub can exert 800–1,000 lbs of concentrated force. Confirm subfloor capacity before specifying cast iron in any installation.
Acrylic is the most common material for undermount tubs. Lightweight (100–150 lbs), warm to the touch, non-porous, and easier to install than cast iron. Heat retention is moderate: expect water to cool noticeably over 30 minutes. Scratches more easily than cast iron but is repairable. For a permanent deck installation, acrylic is the practical choice across most budgets.
Discussing the cost of an undermount bathtub is a bit different than comparing the price of other bathtubs on the market, and that is because the bathtub equates about half the price you are expected to pay. That is because an undermount bathtub requires a platform or a raised area to install, requiring a fair bit of tile which will end up much more expensive than simply buying a drop-in bathtub. That being said, the average cost of an undermount tub ranges from $200-2000. Small and medium bathtubs will range from $200 to $ 1200, with larger bathtubs falling between $1200 and $2000. For the tile installation or platform modifications, you are looking to spend an additional $700-1200, depending on the material used and the size of the platform.
| Undermount tub | Size |
| Small-sized undermount tubs | 30×45 |
| Medium-sized undermount tubs | 50×30 |
| Large-sized undermount tubs | 72×30 |
Equally important to finding the right style or material is of course, size. Bathtubs come in a wide variety of sizes to fit just about any bathroom, so it’s best to determine what your bathroom needs before purchasing. The common sizes of undermount bathtubs are 30×45, 60×30, 54 inches, 60 inches, and 72×32. 30×45 is considered the smallest size, with 30×72 being slightly larger. Medium sized would be 50×30, to 60×30, with the largest sizes ended at 72 inches long with a width of 30 inches.
The deck surface is what most people see and touch, and it affects both the installation’s aesthetics and long-term maintenance.
Tile is the most versatile and most common. Large-format porcelain (12×24 or larger) gives the platform a continuous, modern look. Grout lines require periodic resealing but are otherwise low maintenance. The widest range of color and texture options.
Marble delivers a premium aesthetic but requires sealing at installation and periodic re-sealing thereafter. Natural variation in marble slabs means no two installations look identical. Susceptible to etching from acidic products, anything citrus-based, and most bathroom cleaners.
Quartz is an engineered stone that provides a marble-like aesthetic with significantly less maintenance. Non-porous, doesn’t require sealing, more resistant to staining and etching than natural stone.
Granite is durable and highly scratch-resistant, with a natural stone appearance that varies by slab. Requires sealing, but less frequently than marble.
The deck material should be selected before finalizing the tub, as its weight and thickness affect
The installation challenge for undermount tubs is not the tub placement itself, it’s the waterproofing system.
The seam between the tub rim and the deck surface is the most vulnerable point in the installation. Water that gets behind this seam, from splash, condensation, or a deteriorating caulk joint, enters the deck structure. If the deck structure isn’t properly waterproofed with a membrane beneath the tile or stone layer, water can cause rot and mold that may not become visible for several years. By the time the damage is apparent, it typically requires partial or complete deck demolition to repair.
Proper undermount installation requires:
1. Cement backer board or equivalent substrate on all deck surfaces (not standard drywall)
2. A waterproof membrane applied over the substrate before tiling
3. A continuous, properly supported rim attachment that holds the tub firmly against the underside of the deck
4. Flexible, mold-resistant caulk (not grout) at all tub-to-deck seams
5. Periodic caulk replacement every 2–5 years as the joint deteriorates
Skipping the waterproof membrane is the single most common cost-cutting mistake in undermount installations. It produces invisible water damage that doesn’t surface until the deck requires major work.
The sequence for a standard undermount installation:
1. Build the deck frame to specifications matching the tub dimensions and surround material weight
2. Install cement backer board on all deck surfaces
3. Apply a waterproof membrane on horizontal surfaces and 6 inches up vertical surround walls
4. Set the tub on the floor structure or mortar bed; confirm level
5. Attach rim support brackets to the underside of the deck frame
6. Connect drain and overflow plumbing
7. Test for leaks before closing the deck surface
8. Tile or stone the deck and surround over the waterproof membrane
9. Apply flexible caulk at all tub-to-deck seams
10. Allow full cure before use
The plumbing connection and waterproofing steps require licensed professionals. Tile work is typically a separate trade. Coordination between the plumber and tile setter is critical to the sequence — the plumber’s leak test must be complete before any deck surface is permanently installed.
Once a tile or stone deck is complete, access to the tub’s drain, overflow, and plumbing connections is limited to whatever access panel was built into the installation. If no access panel was specified, reaching the plumbing for any repair requires cutting into the deck structure.
Before installation begins, specify an access panel in the deck surround on the side closest to the plumbing connections. This is a small addition during construction and significant cost avoidance when a drain valve needs service years later.
The tub itself cannot be removed without demolishing the deck. This is the central long-term reality of an undermount installation. It’s the right choice for homeowners who want a permanent, integrated bathroom design and plan to stay long enough to justify the investment. It is not the right choice for homeowners who anticipate wanting the flexibility to update or change the tub in the future.
Undermount is the right choice when:
Undermount is probably not the right choice when:
The bathroom that results from a well-executed undermount installation is distinct, permanent, and worth the investment when the conditions are right. Know what those conditions require before the framing starts.

Eric is the founder and president of Badeloft USA. He has been the president of Badeloft’s US division for over ten years and oversees all marketing and branding aspects of Badeloftusa.com.
His expertise lies in small business development, sales, and home and bathroom industry trends and information.
Contact us with any business related inquiries.
Badeloft is dedicated to helping homeowners make informed decisions about their bathrooms. We adhere to strict editorial guidelines to ensure our content is accurate, trustworthy, and useful.
Request free stone resin and stainless steel material samples. Delivered to your door.
There’s a gap between what a freestanding bathtub listing tells you and what it actually feels like to share one.
The bathtub you choose will shape how you use your primary bathroom every day for the next two decades. Not
A freestanding bathtub is the most permanent aesthetic decision in a bathroom renovation. Get the selection right and it becomes
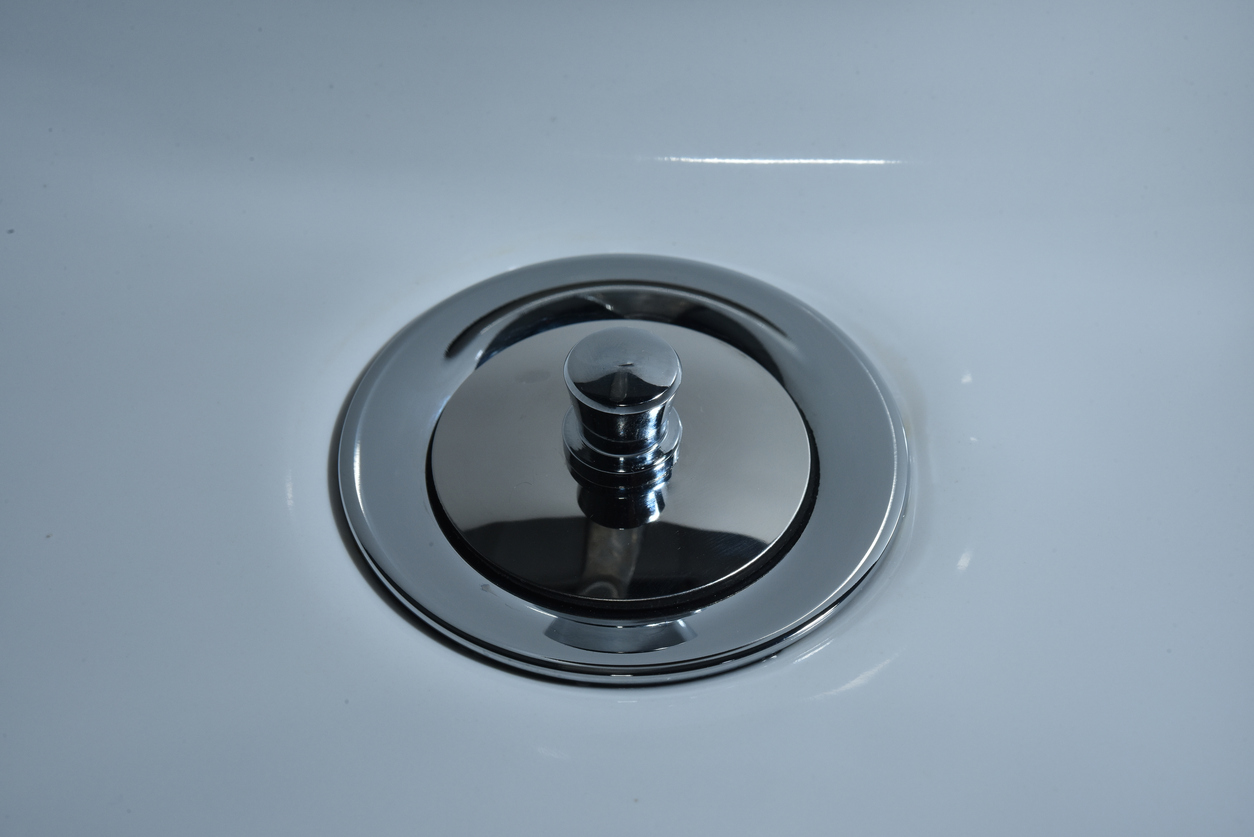
Choosing the right bathtub drain stopper is essential for creating a comfortable and functional bathing experience. With over 20 common
Request your free material sample below. By submitting, you agree to receive occasional product updates and offers from Badeloft. Unsubscribe anytime.
"*" indicates required fields