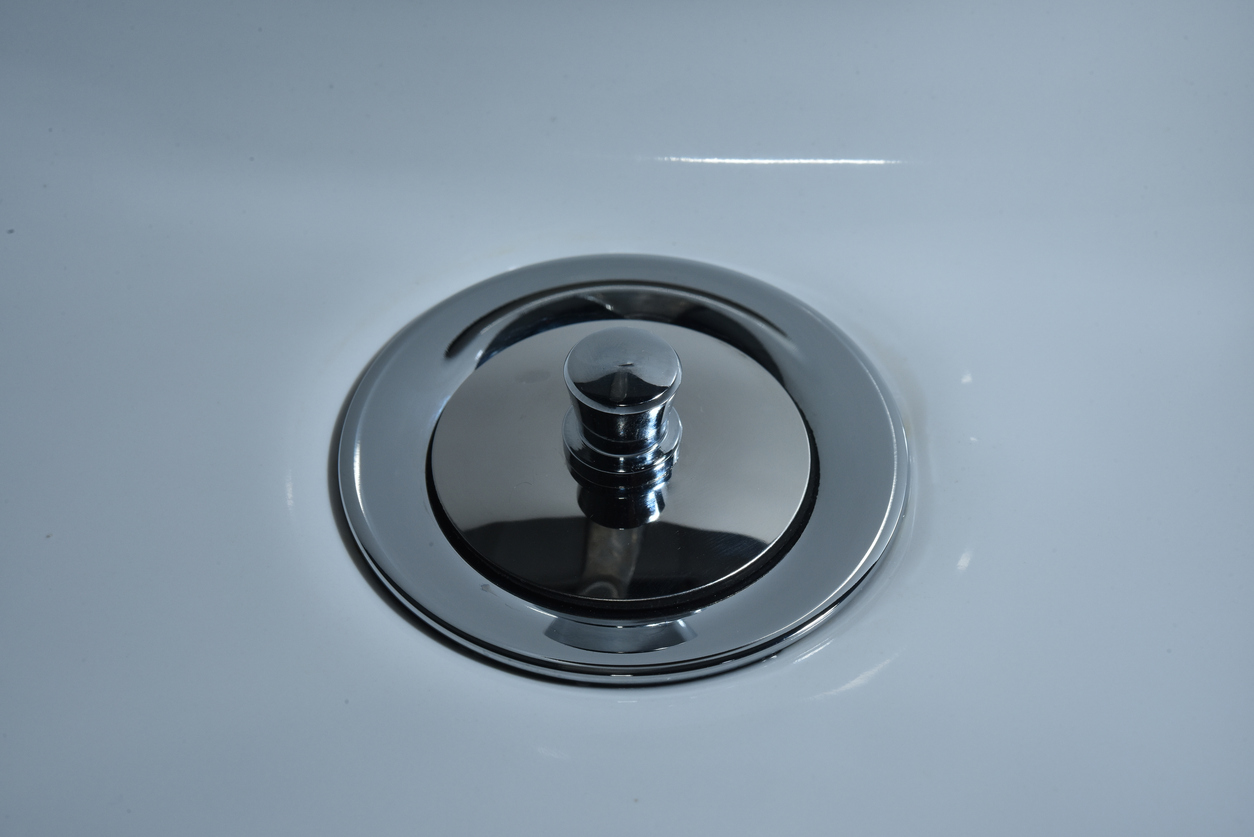
20+ Common Bathtub Drain Stopper Types in 2025 – Which is best for your bathtub?
Choosing the right bathtub drain stopper is essential for creating a comfortable and functional bathing experience. With over 20 common
The question of whether to install flooring or a bathtub first is one that most bathroom guides answer the same way: it depends on the type of tub. That answer is correct, but it leaves out the part that actually determines whether your renovation goes smoothly.
The real question is: what are the consequences of getting the order wrong?
For an inexpensive alcove tub, the consequences are inconvenient. For a stone resin freestanding tub or a cast iron clawfoot weighing 300 pounds or more, the consequences can include cracked tile, floor damage requiring a full redo, or a tub that remains in the wrong position for the life of the bathroom. Most generic guides don’t make that distinction. This one does.
There is no single correct answer for all bathtubs. The sequencing logic splits cleanly by installation type:
This framework holds in nearly every scenario. Understanding why it’s structured this way, and what can go wrong when it isn’t followed, is more useful than the rule itself.
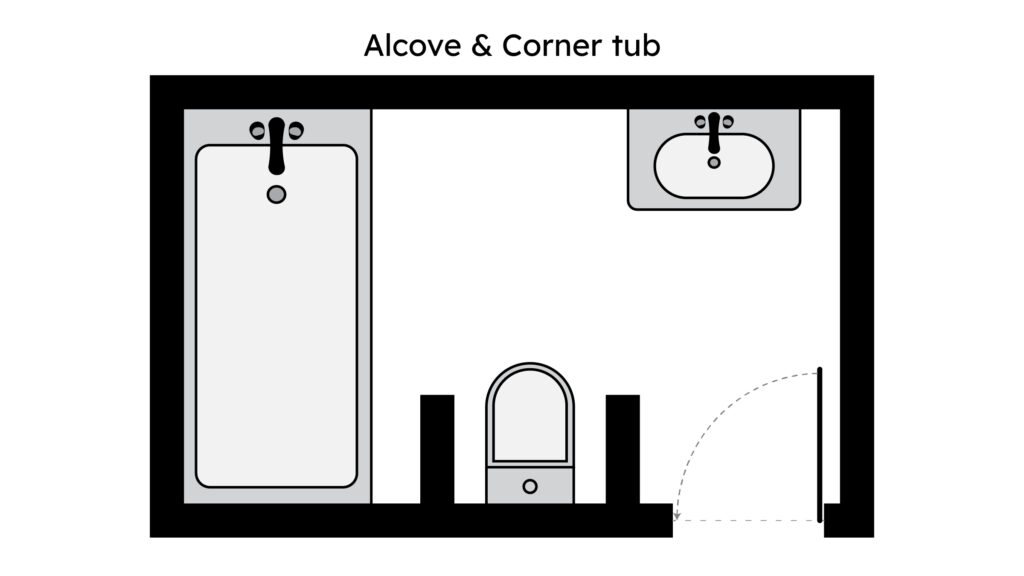
An alcove bathtub is built to sit inside a three-wall surround. The tub’s flanges overlap the walls, and the walls finish to meet the tub’s edges. If you tile or lay flooring before the tub is in place, you create a situation where the tub must be slid over finished flooring to reach its final position.
That’s a problem for two reasons.
First, a standard alcove tub weighs 60 to 100 pounds empty. Moving it into position over finished tile or hardwood risks scratching, cracking, or chipping the surface you just paid to have installed. Grout lines, in particular, are vulnerable at their outer edges during this kind of lateral movement.
Second, the tub’s front apron needs to sit at a precise height relative to the finished floor. If the floor is already in place, small variations in tile thickness or leveling compound can force the apron to sit unevenly or create a visible gap along the bottom edge. Install the tub first, and the flooring can be cut precisely to the apron’s final position.
For drop-in models that require a recessed deck or framed surround, the deck framing goes in before both the tub and the flooring. The tub drops into the deck; the floor runs beneath and around the deck structure.
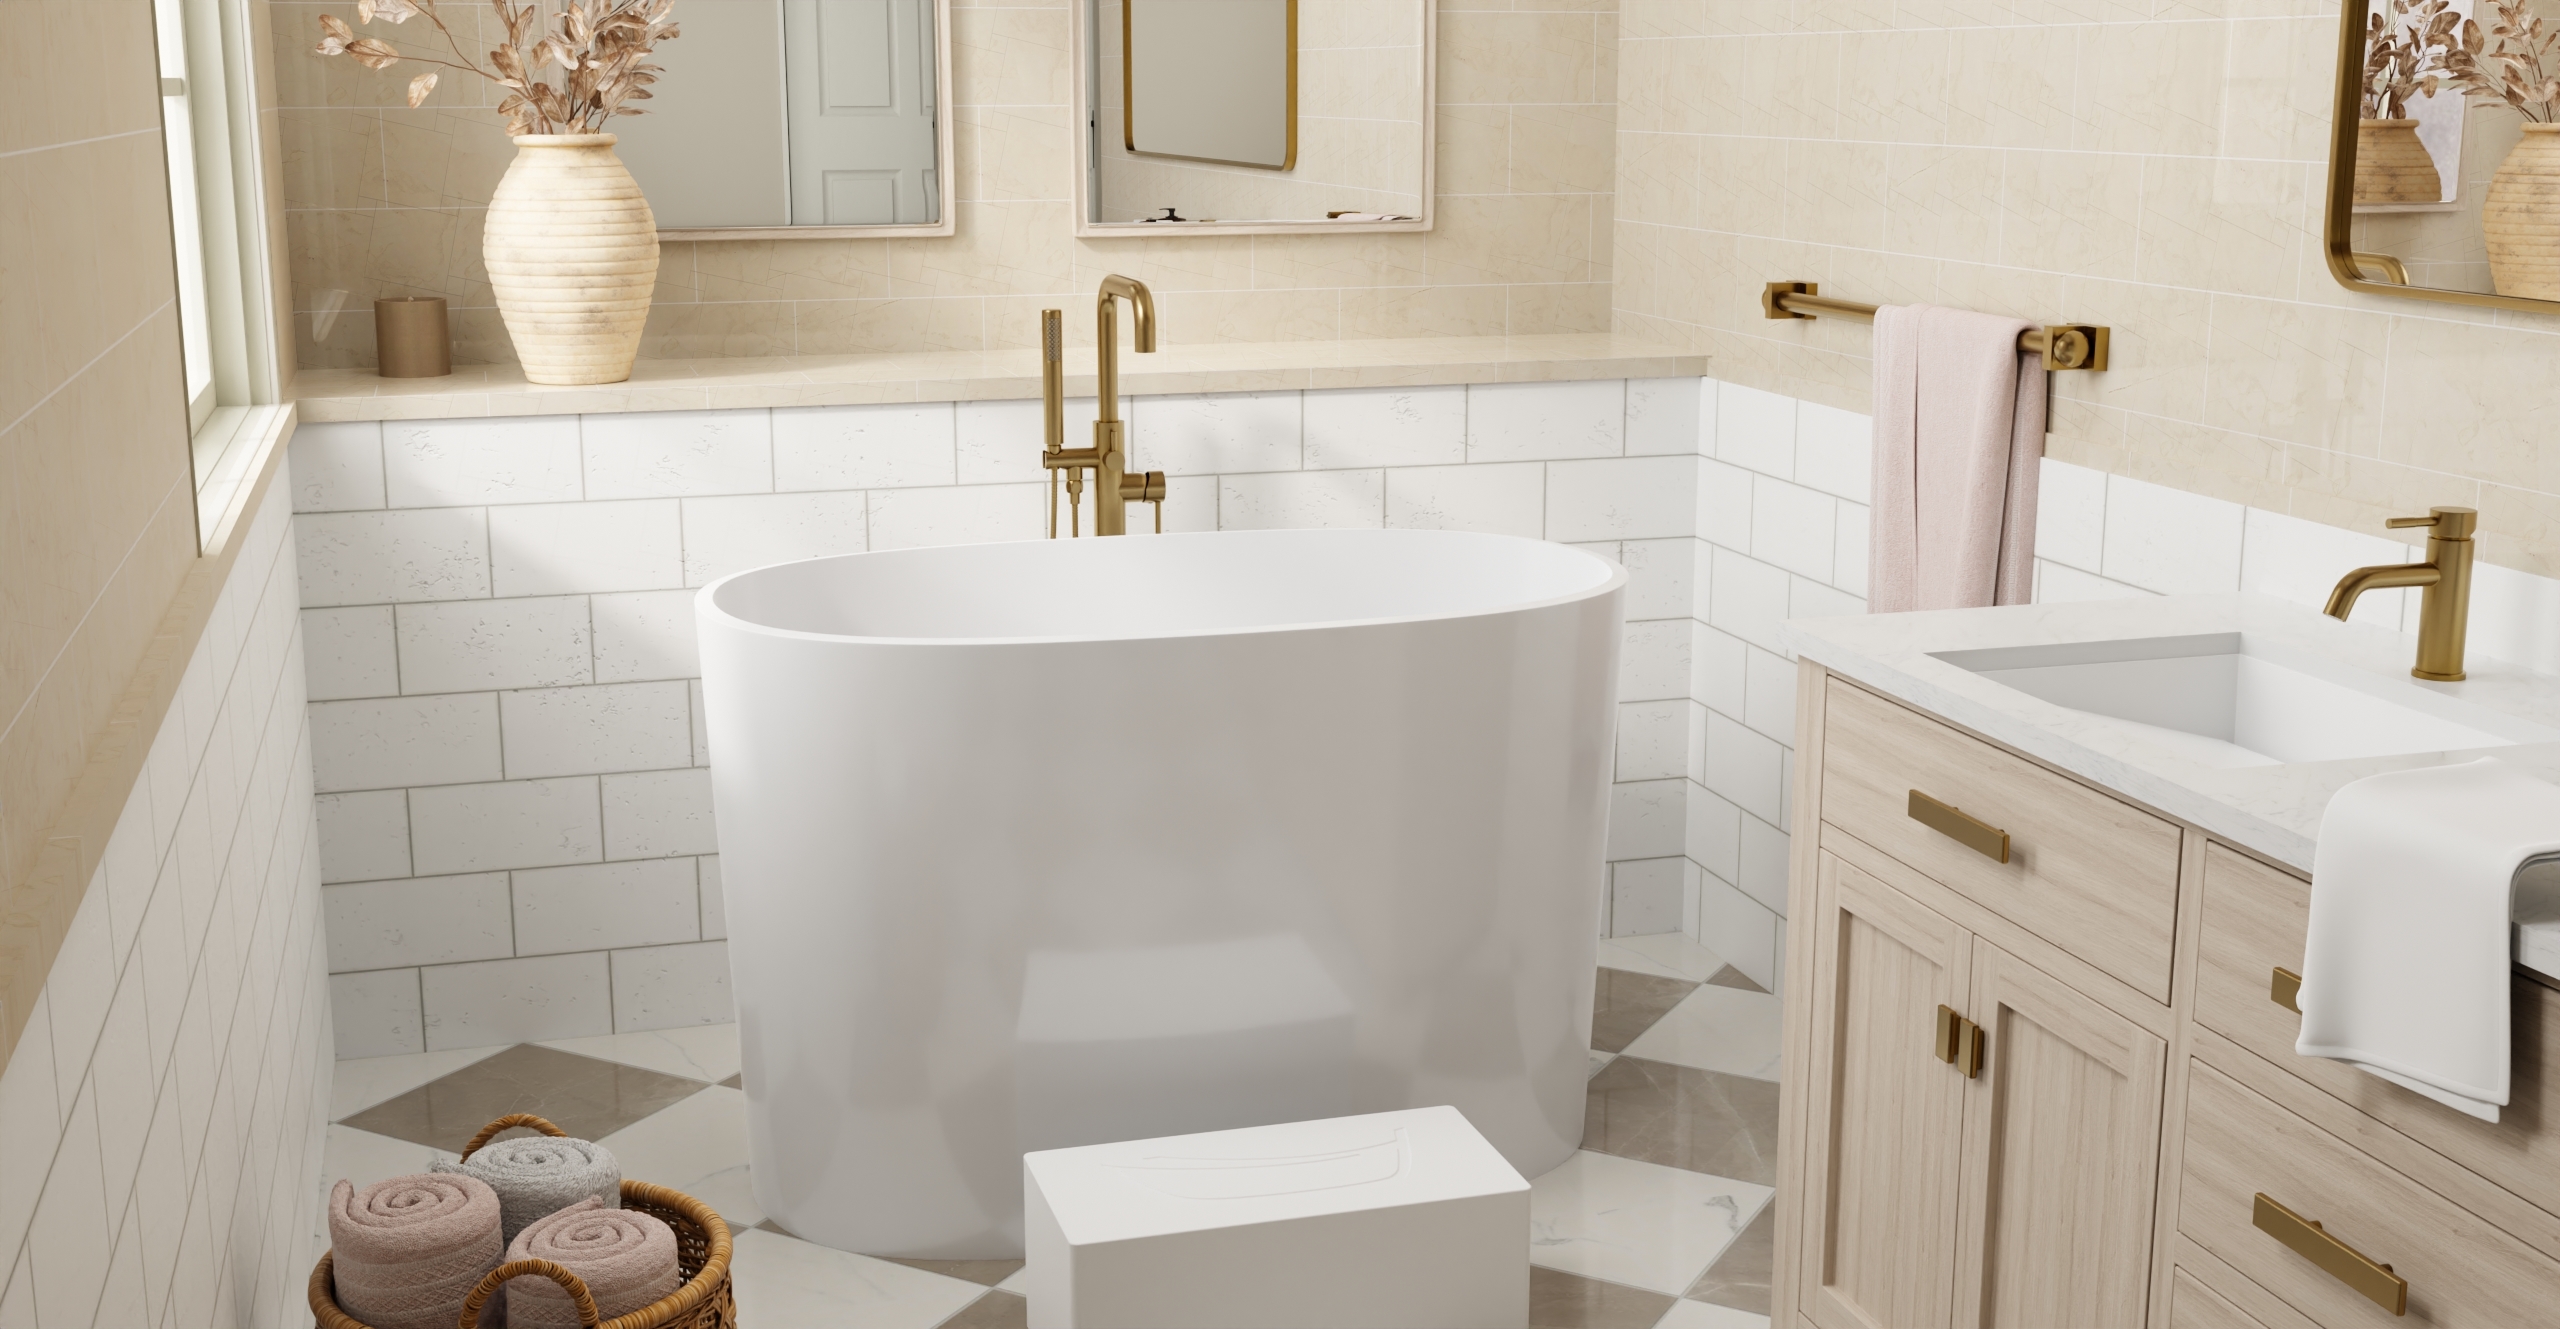
Freestanding bathtubs are the one category where installing the floor first is the right call, but “floor first” is not the complete instruction.

A stone resin freestanding tub typically weighs between 200 and 350 pounds empty. A cast iron model can weigh 300 to 500 pounds. Once filled with water and in use, the load on the subfloor can reach 800 to 1,000 pounds concentrated over a relatively small footprint. That is not a standard residential floor load.
Before the floor goes down, and before the tub arrives, your subfloor needs to be assessed for that weight. Standard residential subflooring is designed for 40 pounds per square foot of live load. A freestanding stone resin tub filled with water may exceed 80 to 100 pounds per square foot at its contact points. If your subfloor shows any flex, any soft spots, or any signs of delamination, those need to be addressed before flooring installation begins — not after.
Once the subfloor is confirmed sound, lay the flooring across the entire bathroom footprint, including the area beneath the tub’s final position. This is what allows a freestanding tub to sit cleanly atop the floor surface with no visible gaps or transitions. The visual effect of a freestanding tub resting on continuous flooring is one of the defining elements of the design. Cutting it off with a patch or a transition strip undermines the whole aesthetic.
After the floor is fully cured and you’re ready to position the tub:
1. Mark the final tub position before delivery, accounting for plumbing rough-in locations.
2. Lay protective sheeting over the finished floor from the entry point to the tub’s position.
3. Use furniture sliders or a dolly with soft wheels to move the tub across the floor without dragging.
4. Confirm the final position before connecting plumbing. Repositioning a stone resin or cast iron tub after the drain is connected is difficult and often requires disconnecting the waste.
Do not assume you can adjust position after plumbing is connected. The decision is effectively permanent once the drain line is set.
Heavy bathtubs damage finished floors during installation more often than during use. The risk points are: delivery from the street or door to the bathroom, movement to the final position, and leveling adjustments.
Protective measures that work:
Tile is more resistant to impact than vinyl or LVP. If your floor is a floating product, be particularly careful about concentrated point loads during leveling. A heavy tub on a single rubber foot, adjusted under load, can compress floating floor joints permanently.
Clawfoot tubs follow the same sequencing logic as freestanding models: complete the flooring across the entire bathroom first, then bring the tub in. The feet are the contact points, and you want them resting on the final finished surface, not on subfloor or a temporary substrate.
The one factor specific to clawfoot installation is the position of the supply and drain connections. Clawfoot tubs use floor-mounted plumbing in most configurations, and the rough-in locations for supply lines and the drain must be set before the floor goes down. Getting this sequence right means: rough-in first, flooring over the rough-in area, then tub positioning to confirm everything aligns before final connection.
If the plumbing rough-in location is wrong, you discover it when the tub is in place. That’s a better moment to find the problem than after tile is grouted and sealed over the access points.
Most guides treat “flooring” as a single category. It isn’t, and the material you choose has real implications for sequencing.
Tile floors require the longest lead time. Mortar bed installation, tile setting, and grout curing can take three to seven days depending on the product, thickness, and conditions. During curing, foot traffic should be minimal and no load-bearing fixtures should be placed on the surface. Plan for the floor to be fully cured before the tub is positioned.
Large-format porcelain and stone tiles are less forgiving of subfloor movement than smaller tiles. If a large-format tile floor is installed before a heavy tub is positioned, any settling or flex in the subfloor under the tub’s weight can crack the tiles at their joints. Confirm subfloor rigidity before committing to large-format tile in a room with a heavy freestanding or cast iron tub.
Luxury vinyl plank (LVP) and sheet vinyl are faster to install but less tolerant of concentrated point loads. A heavy tub foot on a floating LVP floor can cause the planks to buckle or the locking joints to separate over time. If you’re installing LVP beneath a freestanding tub, use a protective pad under each foot to distribute the load.
Natural stone tile requires sealing after installation and before any water exposure. Factor this into your sequencing: the floor is not ready for tub use until it’s been sealed, has fully cured, and the sealant has set.
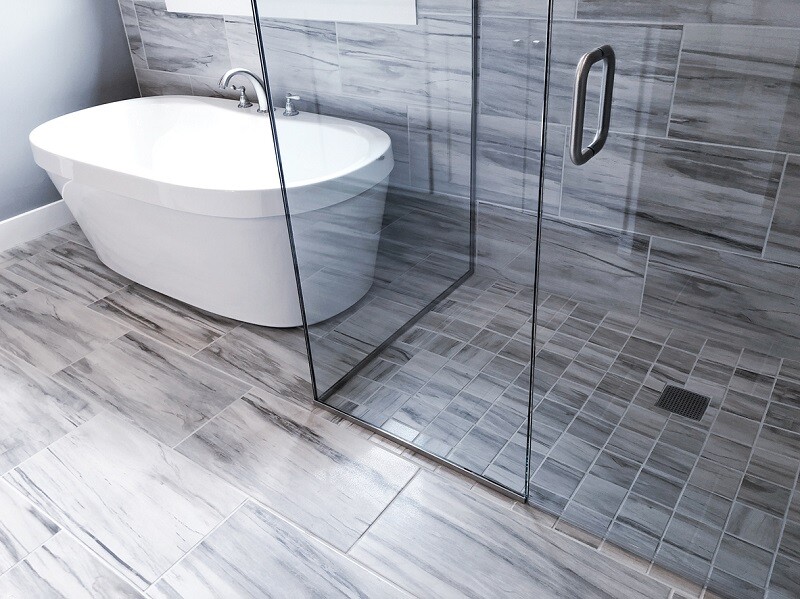
In shower-only configurations, the floor installation and shower base installation typically happen together or in close sequence.
If your shower uses a prefabricated base, the base goes in before any surrounding floor tile is laid, allowing the floor tile to run up to the shower threshold cleanly. If your shower is tiled throughout including the floor, the tile installation proceeds continuously from the shower pan to the main bathroom floor. In this case, the entire floor — shower and main bathroom — is tiled before any fixtures or enclosures are installed.
The shower door and any fixed glass panels go in last, after tile and grout are fully cured. Installing enclosures before grout is fully set can stress the tile work and introduce movement during the adjustment process.
The flooring and bathtub question is one decision within a broader installation order. For context:
1. Demolition and subfloor prep
2. Rough plumbing and electrical
3. Waterproofing and backer board
4. Tub installation (alcove/corner) or subfloor load assessment (freestanding/clawfoot)
5. Tile or flooring installation
6. Tub positioning and plumbing connection (freestanding/clawfoot)
7. Wall tile and surround
8. Vanity, toilet, and fixtures
9. Trim, accessories, and finish work
The bathtub and flooring steps are interdependent with everything around them. A tile setter who shows up before the rough plumbing is inspected creates rework. A tub that arrives before the floor is ready either sits in another room for days or risks being moved across fresh work.
If you’re managing a contractor, confirm the sequencing explicitly before work begins. Most experienced bathroom contractors follow this order automatically. The ones who don’t will become apparent when something needs to be redone.
Whatever sequence applies to your bathroom, two things need to happen before any work begins:
First, confirm your subfloor can handle the load. This matters for all bathtubs but is critical for stone resin, cast iron, and natural stone freestanding models. If a structural engineer or your contractor identifies a subfloor concern, address it at this stage. The cost of sistering joists or adding a layer of plywood before the floor goes down is far lower than the cost of repairing a cracked tile floor or, worse, a failed subfloor under a filled tub.
Second, confirm your rough-in locations match your tub’s drain and supply specifications before the floor is tiled over them. Once tile is down, rough-in access is gone. A mismatch discovered after the fact means cutting tile, relocating pipe, and retiling at minimum.
Get those two confirmations in writing from whoever is doing the plumbing and structural work, then proceed with confidence. The sequence that follows is straightforward once those foundations are right.

Eric is the founder and president of Badeloft USA. He has been the president of Badeloft’s US division for over ten years and oversees all marketing and branding aspects of Badeloftusa.com.
His expertise lies in small business development, sales, and home and bathroom industry trends and information.
Contact us with any business related inquiries.
Badeloft is dedicated to helping homeowners make informed decisions about their bathrooms. We adhere to strict editorial guidelines to ensure our content is accurate, trustworthy, and useful.
Request free stone resin and stainless steel material samples. Delivered to your door.
Choosing the right bathtub drain stopper is essential for creating a comfortable and functional bathing experience. With over 20 common
A soaking tub is defined by one thing: depth. Where a standard alcove tub sits around 14 inches deep, a
Spring is when most bathroom remodels get serious. The weather breaks, contractors open up, and that upgrade you have been
A Japanese soaking tub, known traditionally as an ofuro, is designed for one purpose: full-body immersion. Unlike Western bathtubs built
Request your free material sample below. By submitting, you agree to receive occasional product updates and offers from Badeloft. Unsubscribe anytime.
"*" indicates required fields